Tutorial by Brad Armpitt
Let’s start with a general definition of Fullspeed: If you can drive through the entire track without breaking, releasing, crashing or drifting to slow down, on any surface, the map is considered to be Fullspeed.
For more details about the definition of fullspeed, check out the page over at the Fullspeed Family website: https://fsfam.club/resources/basics/what-is-fullspeed/
To learn fullspeed mapping it’s important to realise a couple of things:
- Play the game! This may sound stupid or redundant, but actually playing the game helps you as a mapper by giving you experience. Also playing other maps helps with inspiration and ideas you might get for your own creations!
- Upload your maps to TMX Uploading your maps to trackmania.exchange gives you the opportunity to show the world your creations and get feedback and/or praise for it.
- Utilise friends/maptesters! A super usefull part of trackmania is the players, letting a friend/competitivePlayer/random dude or clanmember playing your map can provide you with feedback and different insights for your map. Preferably you would do this before releasing your map so that any last adjustments can be made before releasing your map to the public!
- Learn through doing and looking Not only can you learn alot from playing yourself but there are a lot of streams going on at almost every time during the day. The fullspeed scene has some good mappers streaming so check them out for tips and any questions you might have.
- Have fun! Don’t get stuck in a map that you feel you have to complete or get stuck in without inspiration. If you start mapping because you have to it might be time to take a break and start a new project or play online for a bit, mapping can be draining!
¶ Basics
¶ Blocks
¶ Blockmodes
There are a lot of blocks in trackmania, the way you use, wich one to use and how you place them can be quite the challenge! To start with there are 4 ways to place a block. The options are shown in the bottom left of your screen in the editor.
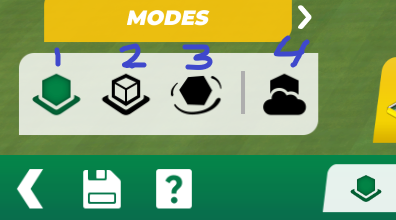
1. Block mode: This is the standard blockmode and is the most used in mapping to build elements and anything that just involves connecting one block to another
2. Ghost block mode: This is allows for blocks to be placed in eachother or on top of eachother. This is still on the normal grid and does not allow blocks to be rotated.
3. Free block mode: This is the most freedom you are going to get in this game, this feature allows you to rotate, place and connect any block at any place/angle you can imagine. This is a feature you should only use when you cannot use one of the options above or when you are using it for a very specific purpose. Overusing this feature might result in bugs and lower quality maps.
4. Air block mode: Removes the feature that connects placed blocks to the ground and allows for crossing over previously placed block without blocking them.
¶ Surfaces
Trackmania knows multiple surfaces you can drive on:
-
These black blocks are the only block that differs in height to all the other blocks, without having to resort to free mode, they are hard to use because there are only a limited amount of blocks that are available. It’s also harder to see skids on this so dont do any large SD’s on the black surfaces. Use the black blocks for transitions or scenery, i wouldn’t recommend doing a full track with these.
-
Grassblocks should be used sparingly in FS, there are very fringecases of use for this block but in general i would not use these unless you are going for a themed map or are forcing some sort of slide.
-
Ice, one of the new surfaces in the new Trackmania. Ice is very difficult to navigate and is really not that usefull in fullspeed as of now. Maybe later on we find a good use for this block but for now i would stay away from iceblocks.
-
Dirt, i think dirt is the most compatible with fullspeed, still it doesnot have a lot of uses, there are a few instances where it might call for a dirtblock or dirtpart. But that would already go more to the funspeed section of FS. In general dirt is most compatible so if you are looking for something to start a slide or something like that it’s usefull.
-
Platfor/road, the real bae of FS, best and easyest surface to make an FS track with. The platform and road in this game are on the same height so you can freely interchange between them and i would recommend a good mixture of road and platform to make sure your track is not monotone.
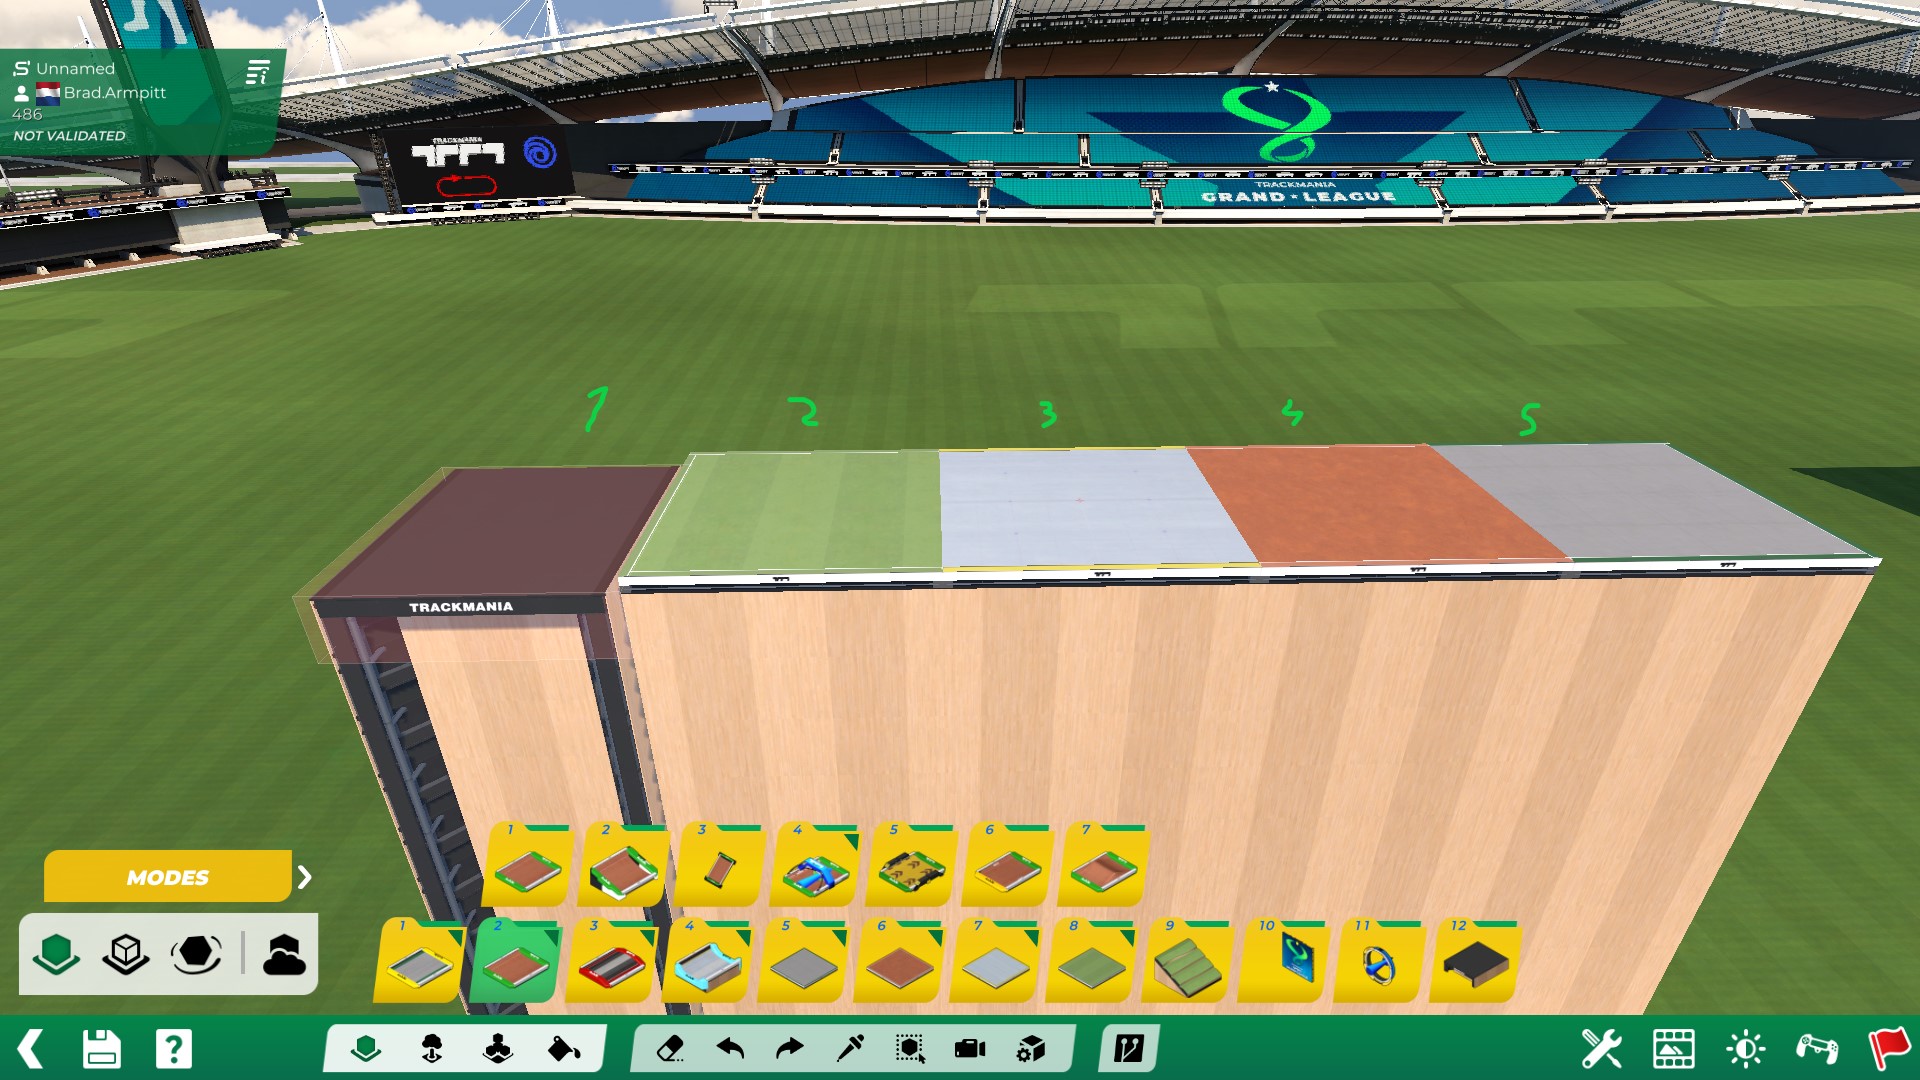
¶ Loops
Loops are a classic feature in Fullspeed mapping. Here are some guidelines to help you use loops the best way possible!
In the image above you see a classic example of a loop. To make a looping adds to your map instead of taking away from it here are some tips!
- As a general rule for loopings it’s wise to make sure people are not steering in a looping, steering while in a looping slows you down by a little and can cause akward lines to get the most speed. Try to take in account turns before and after loopings that might have the player steer into or out of the loop.
- Another thing to avoid with loopings is jumploops, you all know them from tmnf and tm2 the loopings that jump upwards and come down and then jump through the gap that you left open, this is generaly a real oppertunity for bugs and slowdowns to sneak into your map, try to avoid these!
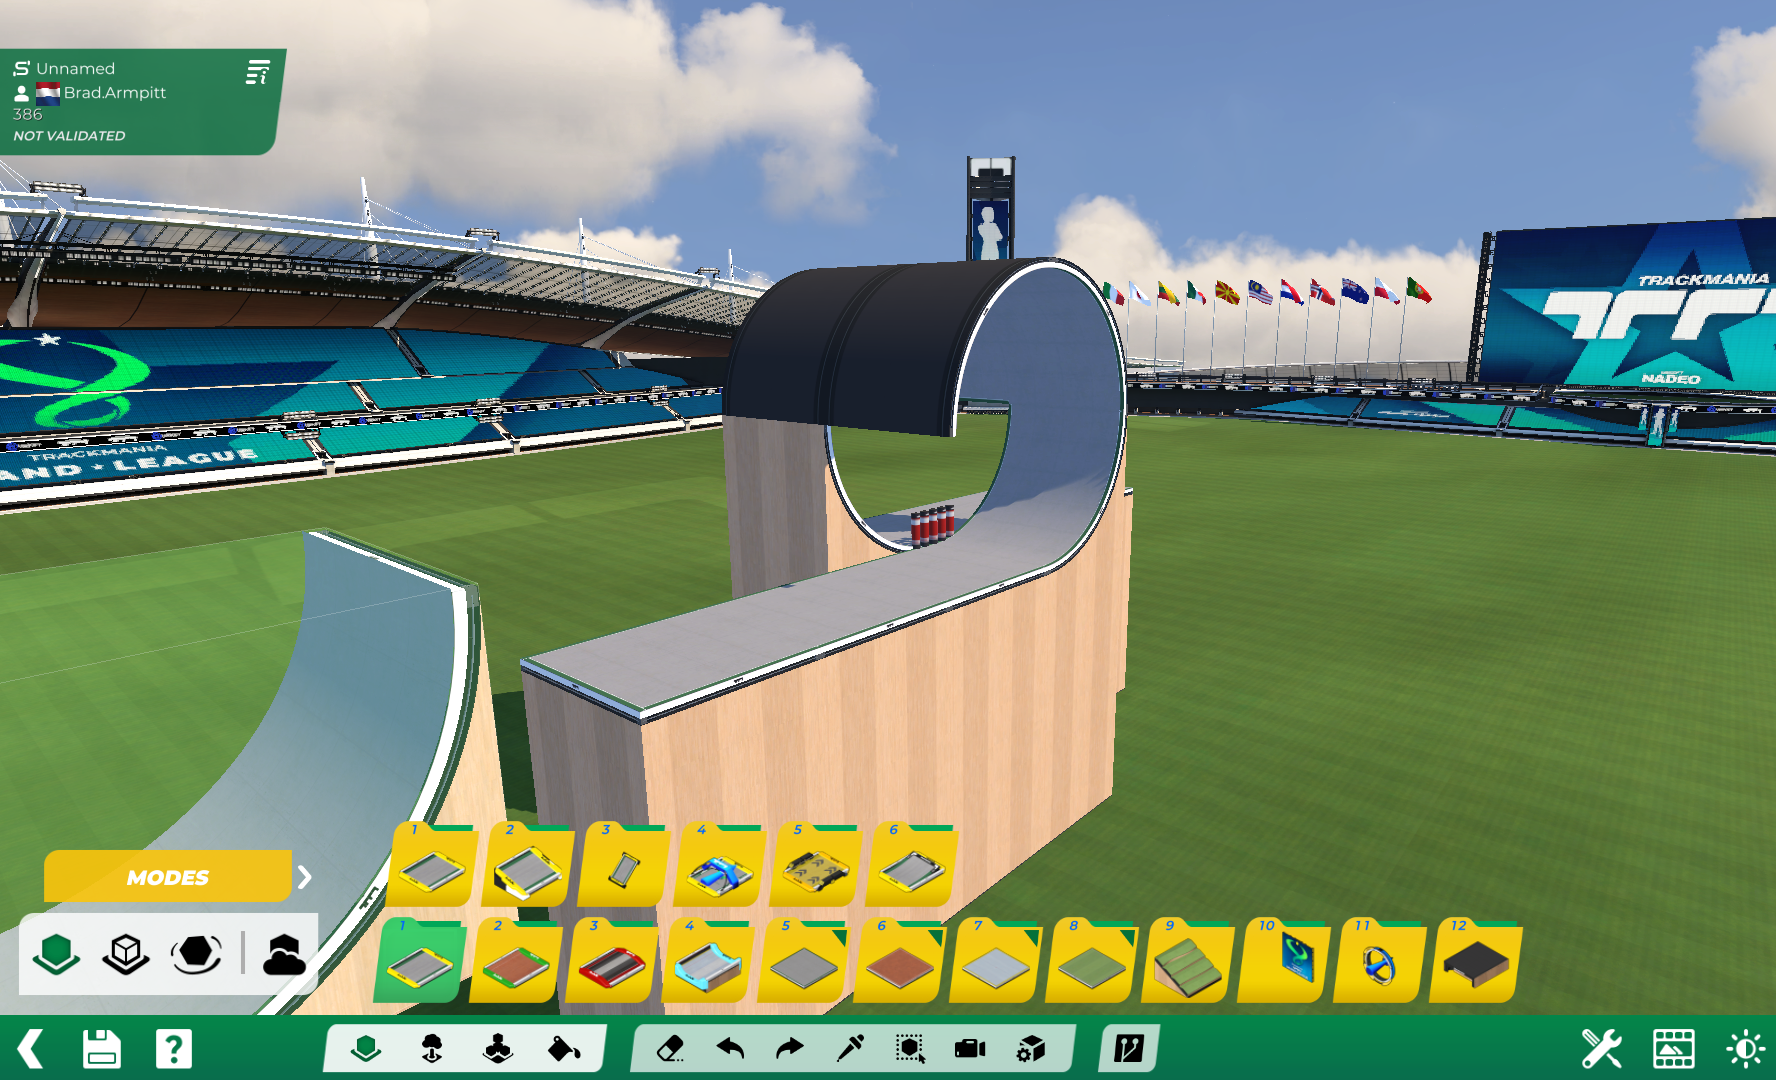
- Be aware of cuts! Loops like in the image are prone to allow the player to cut the loop, this is preventable by placing a blockade in the middle of the loop, or by simply adding a height difference in the entrance and exit of the loop.
- Make sure to never go up more than 1 block if you add a height difference to avoid bugs, for going down it’s less important but dropping really far might still result in a bug or slowdown.
¶ Wallrides
Wallrides are another staple for fullspeed, and they get used the most in fullspeed and provide a nice variation to plain corners or getting over a section of track. A few things to keep in mind while making/using wallrides:
- Wallrides require speed! To prevent players from falling out of a wallride you need to give the player enough speed to complete the walride without having to steer up.
- Think about what the size of the wallride should be considering your speed:
- Low speed = Small wall
- High speed = larger walls
- Also be carefull to not make a small wall at very high speed, these are very hard to do correct and one should avoid using them.
- 180 degree wallrides can be done in multiple ways:
- Same size walls (big and small)
- Big wall + small wall
- Small wall + big wall
- Be carefull by going over 180 degrees while making a wallride the more you add the more speed and height you lose while driving the wallride.
- Ending in a drop is possible but again this can cause bugs and slowdowns so make sure to test it well so you are sure that your way works!
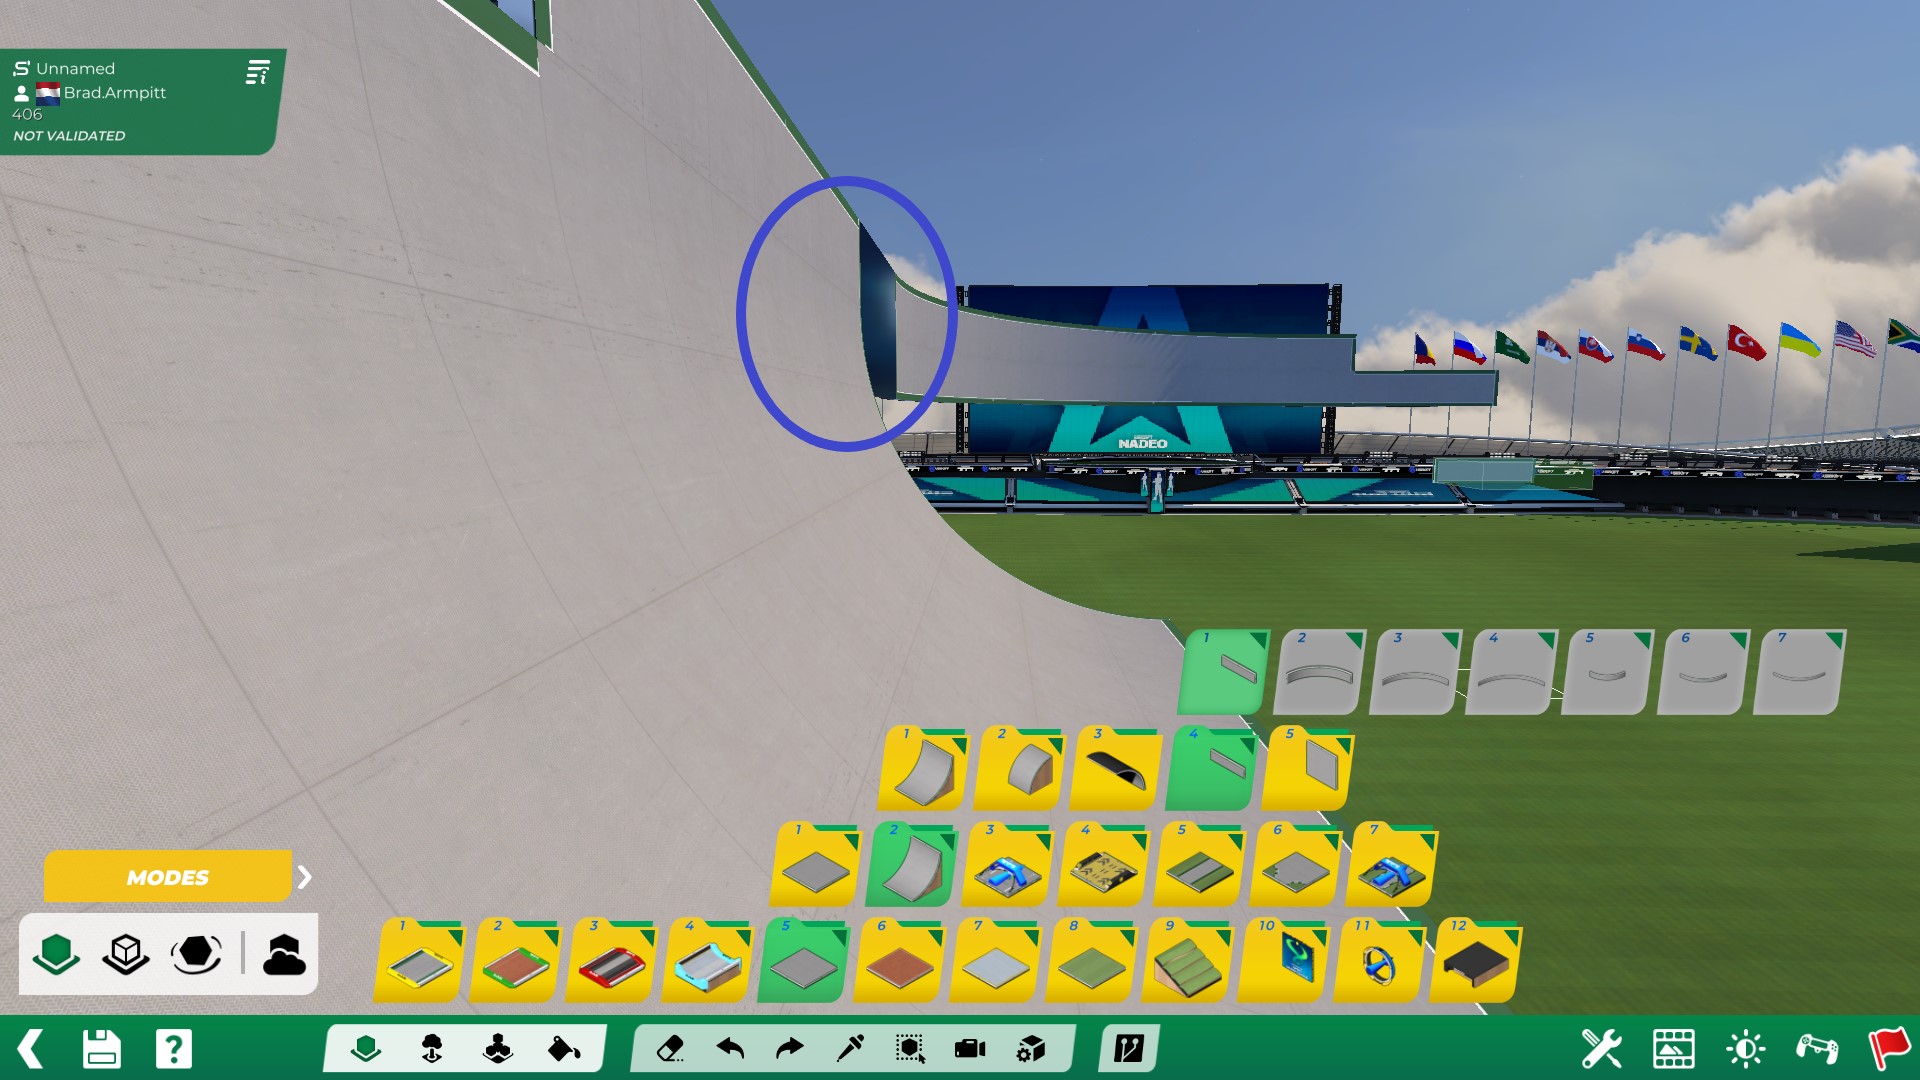
- After deciding what kind of wallride you are making how do you start? Start with the entry of the wallride, as a standard use a minimum of 6 quarterpipes to make the entry to the wallride. The faster you go, the more quarterpipes you must add.
- You also have to consider the angle of your approach:
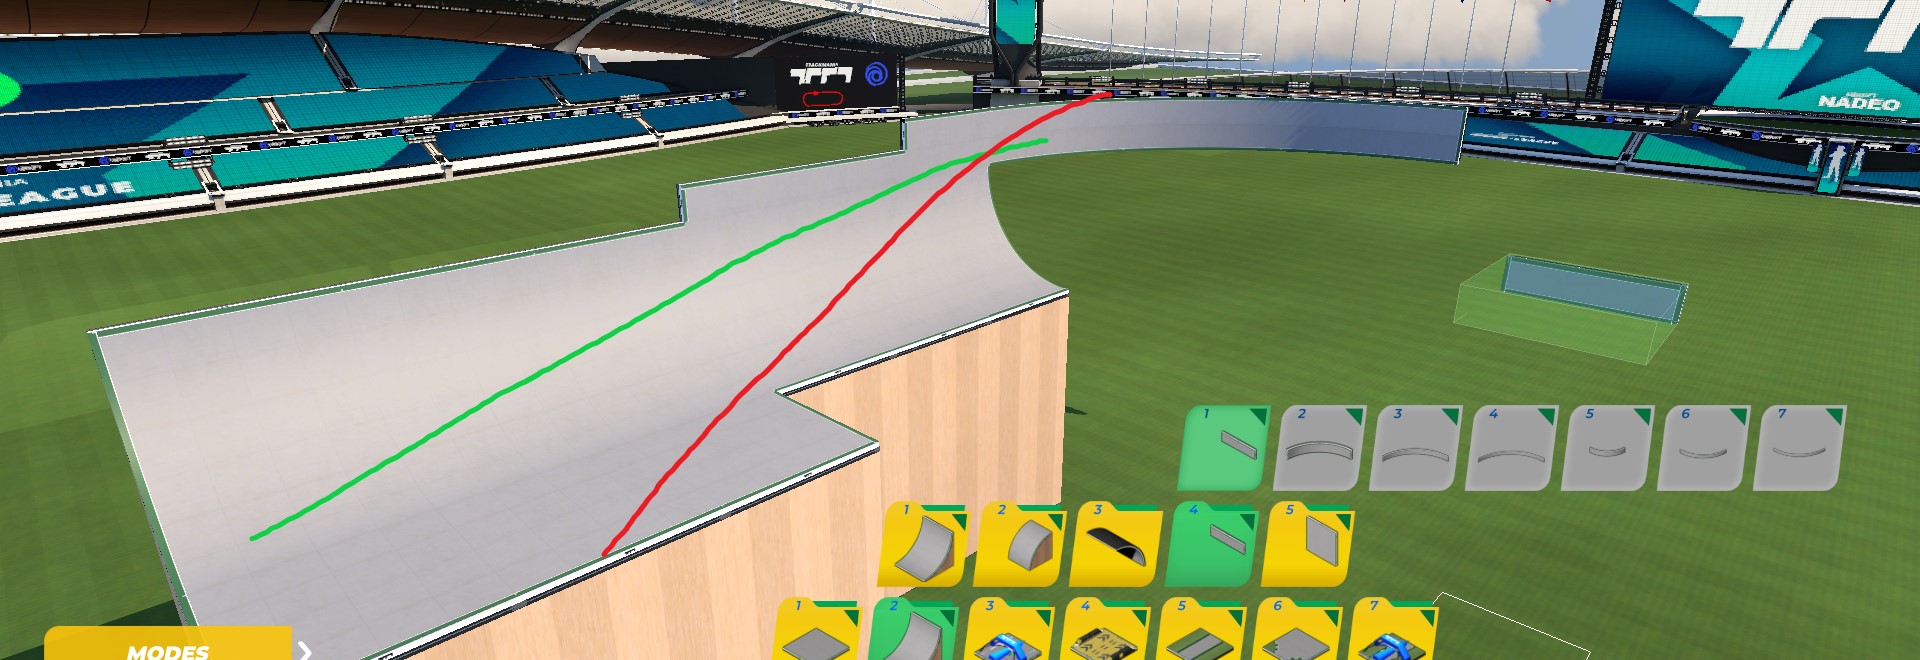
- The green line, represents a good line into the wallride, if you allow a good line it preserves speed and allows for a tight line.
- The red line, represents too sharp of a line into the wallride wich will cause airtime on entry and exit. To fix the red line the actual wall needs to be placed further to the right to accomodate a better line. Alternatively dropping the wallride down a block and add a normal wallblock would also help solve this, although this does not work if the entryline is too sharp. In the blue circle you can see the wall is a block lower and has a space inbetween the wallride and the quarterpipe.
A wall exit goes by the same general rule as the entry, a minimum of 6 quarterpipes as exit increasing the higher your speed is. exiting with the downhill wallexit works better than entering the wall on a slope.
Remember when building a map it’s important to use a combination of elements in a track and not just plonk a couple of wallrides in a row and expect players to enjoy it. Find a good balance and feel out your map!
¶ Turnovers
Turnovers are a fullspeed staple, they are used to make a quick switch in direction and change the pace of the map. Done well they allow players to maintain speed and done poorly they give the player little time to adjust and bug or slow the player down.
To start with a turnover it’s important to use the same baserule as with Wallrides, the higher your speed is the longer your Turnover entry must be. So the faster the TO is add more quarterpipes to allow the player to ease into the correct line.
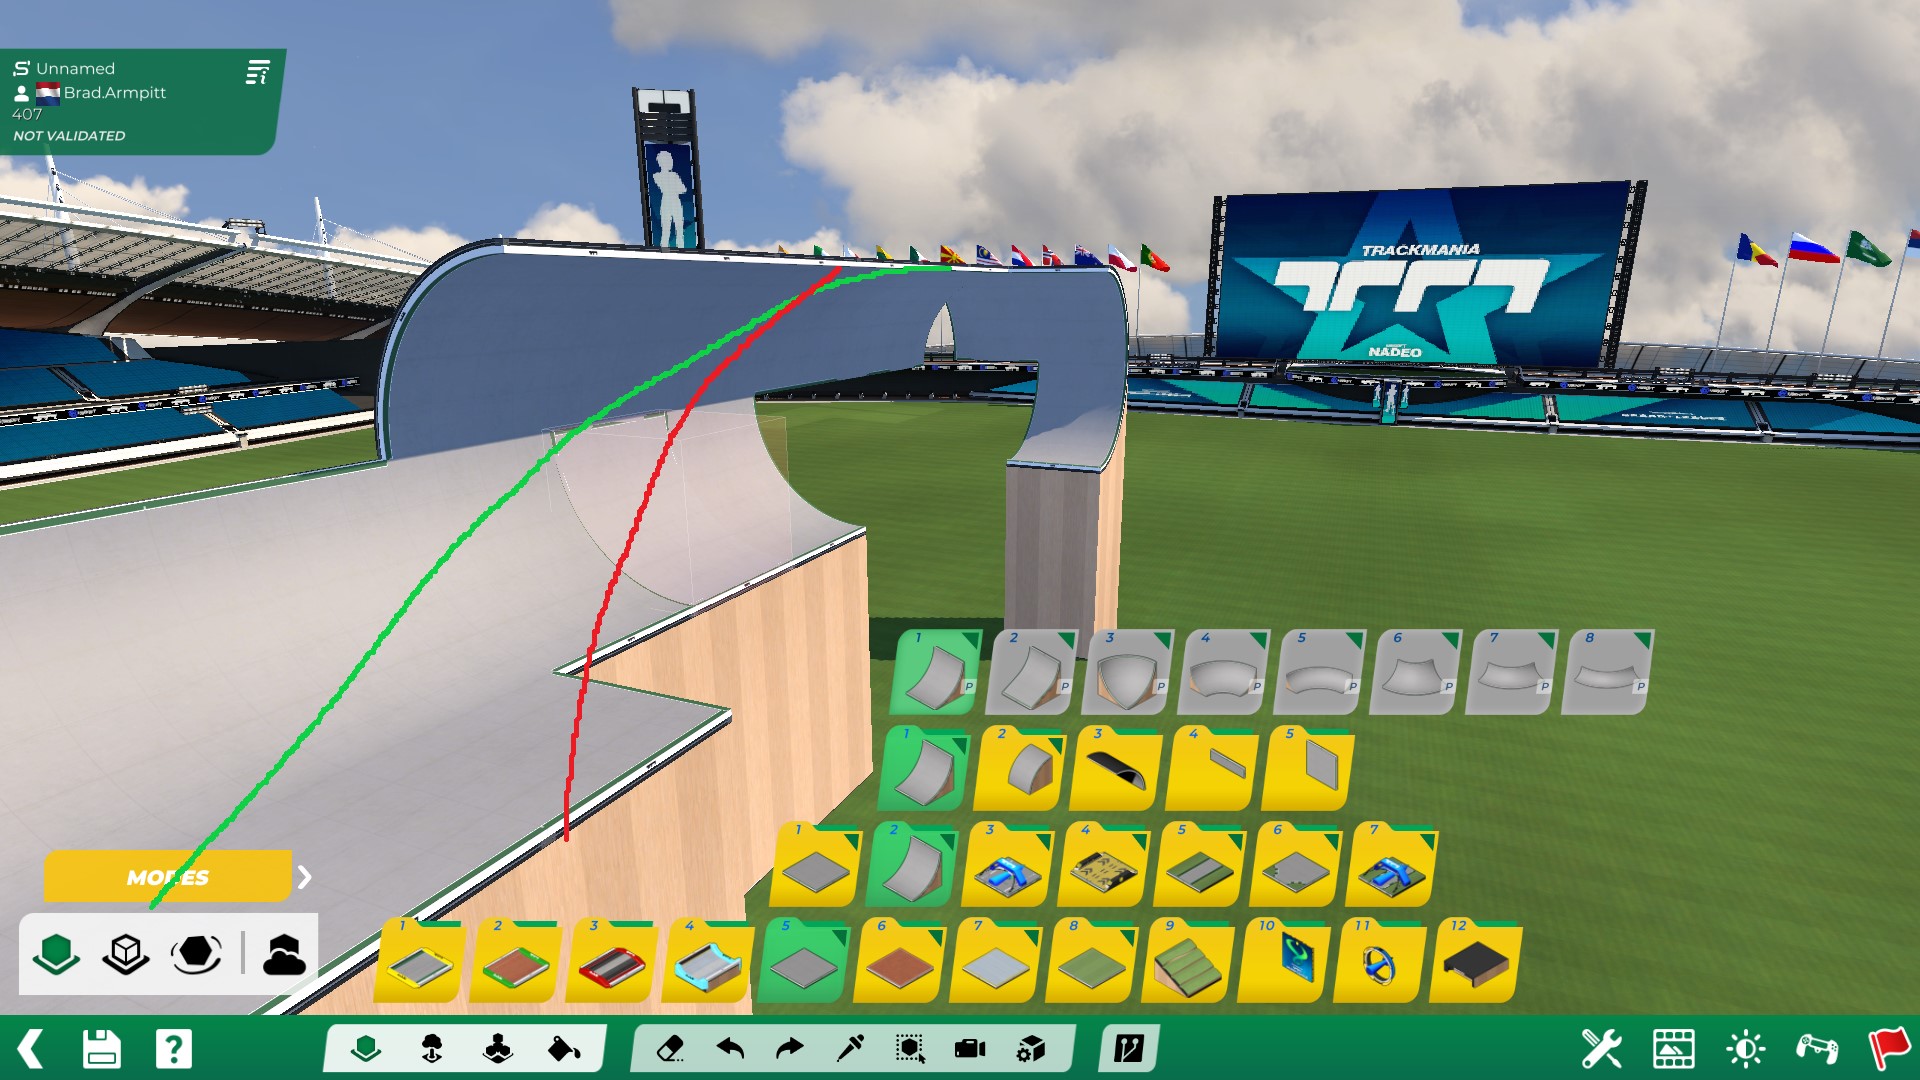
The red line in this image shows a sharp line into the Turnover, taking this line would send the player flying of the TO or the player would have to steer dramaticly losing a lot of speed. Allowing the player to take The green line sets the player up to drive the right line, they might still make a mistake but that would be one that they made. Your job as the mapper is to guide the player into the right line, but not to force a certain movement pattern.
For turnovers its really important to have a visible Apex, the image below helps to explain what i mean by apex.
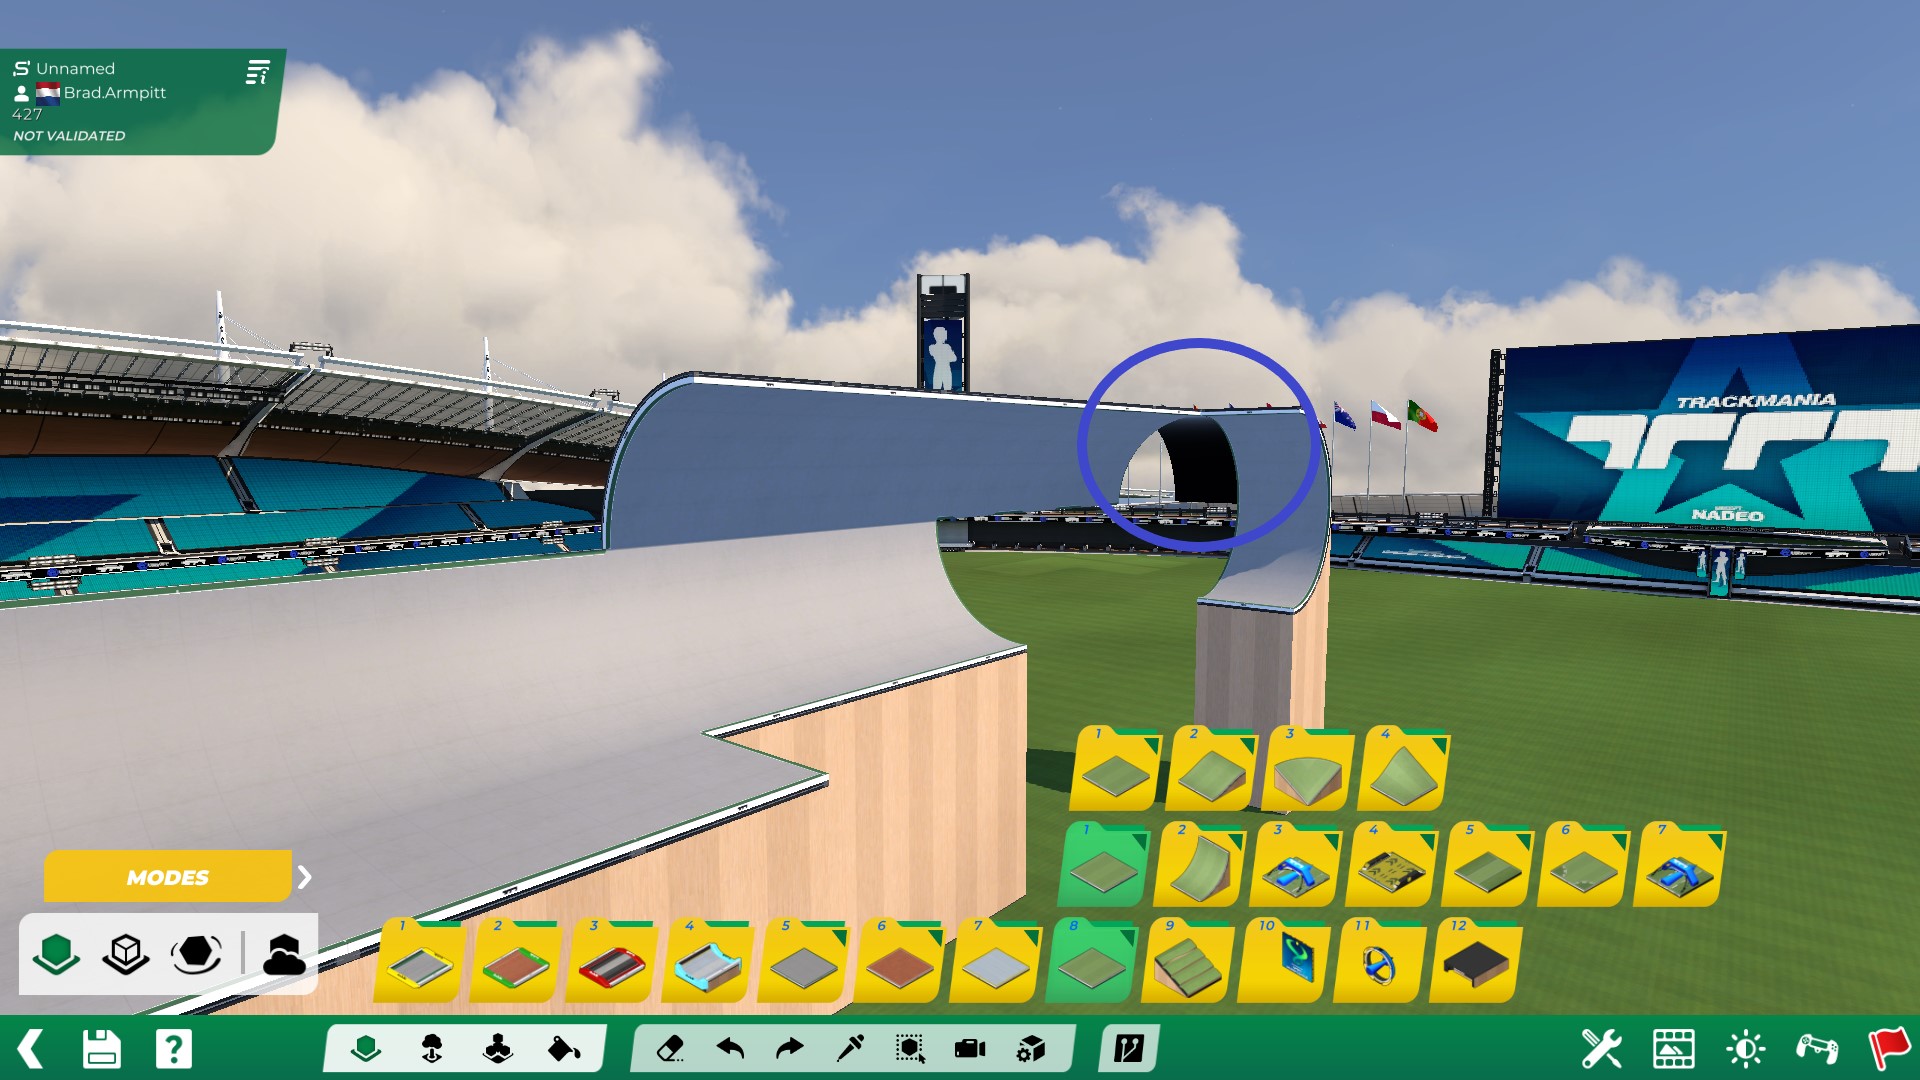
Highlighted in the Blue circle is something i like to do to make the Apex very visible. This is a advertisement sign rotated with Free Block Mode and placed next to the Apex quarterpipe, this game doesnot have any lines in the quarterpipes to help players see where the Apex is and in this way i like to help the player. This is not needed just a small tip you can use if you think your TO could use it.
Lastly remember to (same as with all elements) wait with turns and jumps untill the player has cleared the TO, needing to immidiatly turn or line up for a jump after a TO can be hard and i would suggest leaving at least 3/4 blocks depending on speed to allow players to adjust.
¶ Corks and Tubes
Corkscrews and tubes are slightly more advanced features than the loop/wallride/turnover. They change up the flow of the track and give more variaty to fullspeed tracks. Corkscrews in particular can be hard to do right, you have to take speed, angle, height, entry and exit into account.
But let’s start with tubes, they are basicly a big loop stretched out so the player takes it sideways. There is few rules to a tube, besides making it long enough so the player doesnot have to drasticly steer in the tube. If they have to steer alot in a tube it reduces speed and may lead to annoyance with players.
Corkscrews are less forgiving than tubes, they require a lot of precision and testing to get right. I will touch opon a few things that you have to look out for!
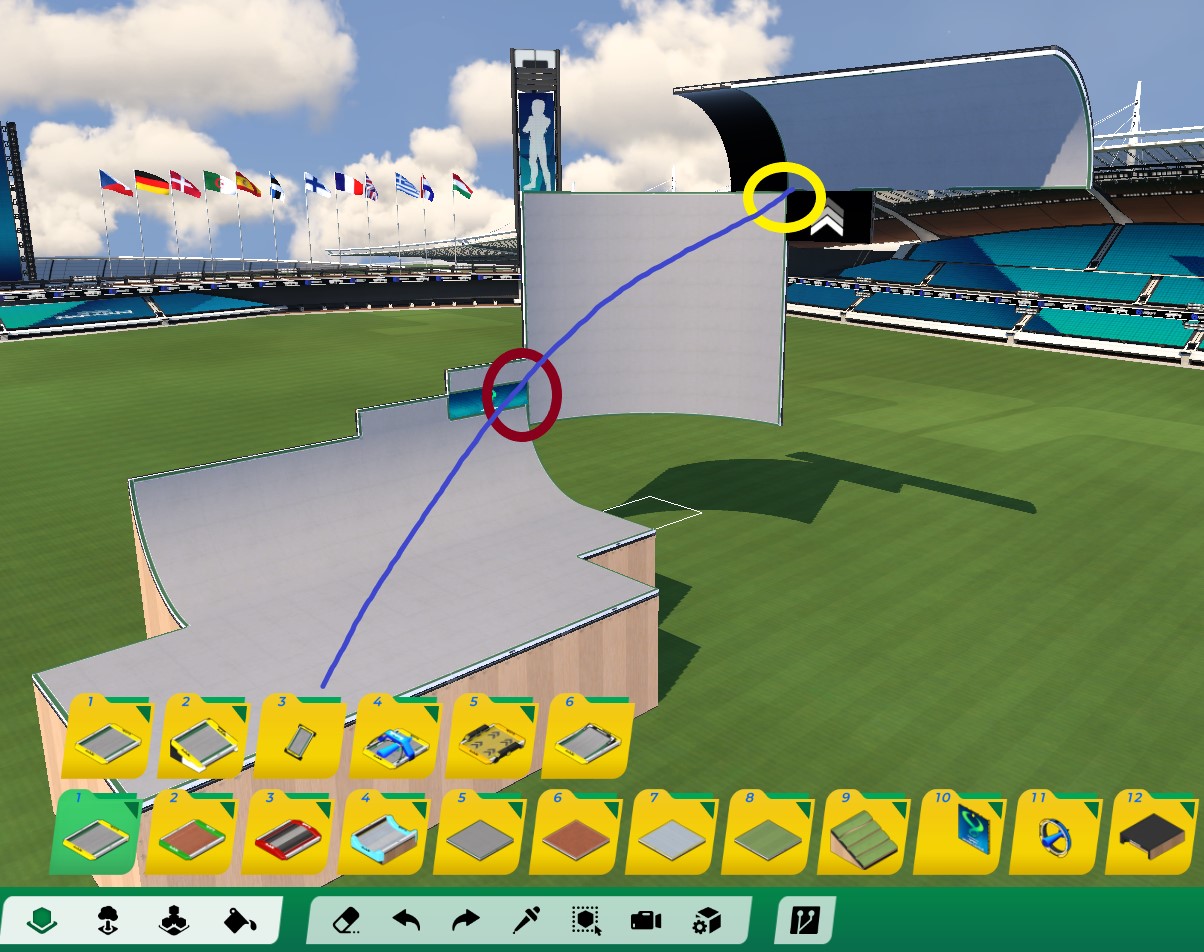
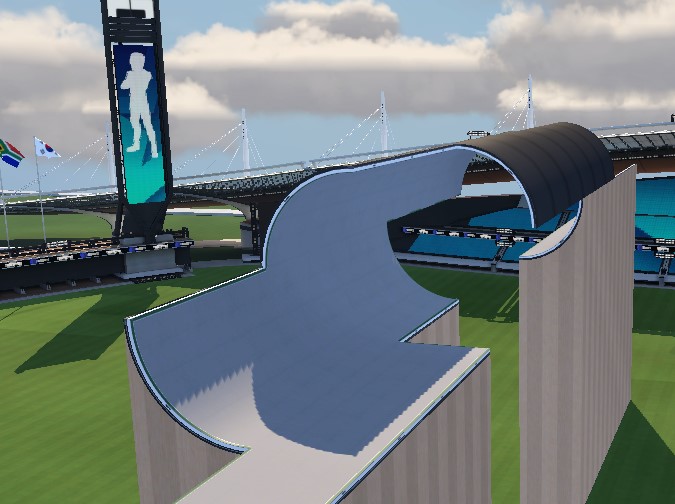
The red and Yellow circle represent the Lower Apex and Top Apex. Simply put the Apex in a Cork is where the wall connects to the quarterpipe. The best line through any Cork is represented by the blue line, so always aim to have your race line hit both Apex’ to ensure the Corkscrew is build right. This is the same for a Cork going down.
Speed is very important, speed decides how many wallpieces you use, how big your wallpieces are and how high you go. Again if the Cork is slower = the smaller when the wall pieces have to be. Keep in mind that there are faster and slower racers and your track should be possible for both.
¶ Transitions
Transitions are hard to implement. They can feel amazing when done right, but when done wrong they break the flow and can really give the player a bad feeling about the map. Transitions give an interesting twist to a otherwise boring map by switching surfaces or height of the surface you are driving on.
When using transitions be sure to mix it up, do not use the same transition 4 times in one map ( unless you are going for a themed map). Try to differentiate in surfaces and height. Consider going down/up/left/right. Or even re-using a previous block to navigate a different route. Whenever you are trying something transitional, make sure to test it a good 20 times to prevent any bugs or bumps.
If you try something new that you have never seen before, make sure somebody else tests it aswell to make sure you have a good idea. Sometimes you might think something works and it takes another player to figure out if it really works.
But for what it’s worth almost anything works as long as its smooth well build and well thought out. So do as your hart desires and make the best stuff you can think of!